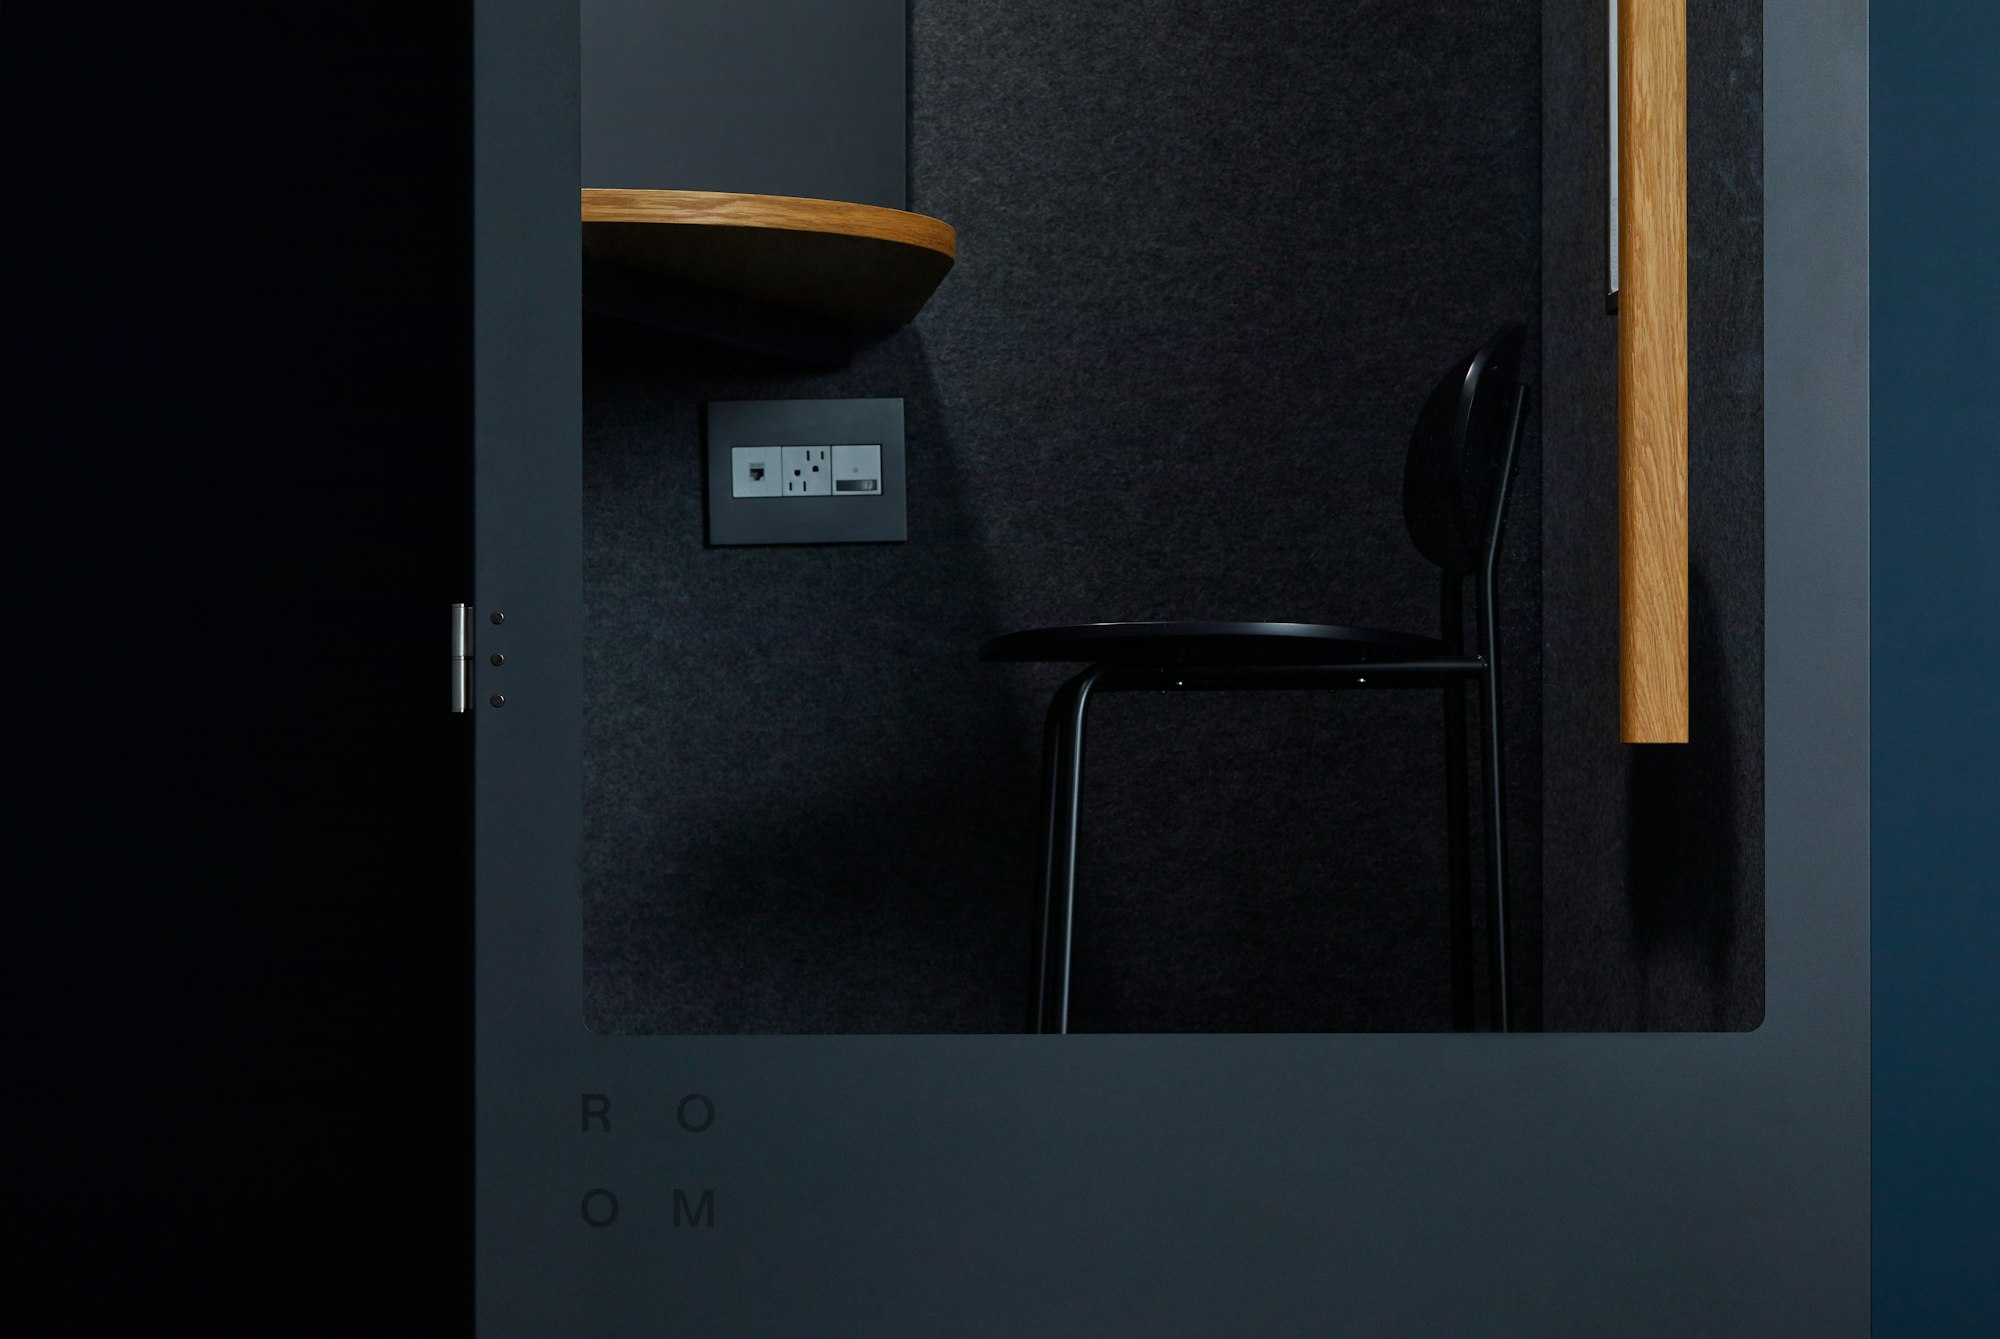
Sound foam is popular among musicians and podcasters alike for its sound-absorbing properties. But if you don’t know how to properly install it, it can be a major hassle, and can even lead to your walls getting damaged.
Their purpose is to lessen residual sound and balance the acoustics of the room, but if they’ve been installed poorly, this can lead to even more residual sound, because the sound is being bounced around the room.
The following article will break down exactly how to hang acoustic foam, including where to place it and how to prepare your wall, as well as alternative methods for hanging sound foam.
Why Is Sound Foam Important?
Sound foam reduces, and in some cases (particularly with the addition of white noise reduction in post-production) eliminates residual sound.
Without acoustic foam, sound escapes through walls and floors, or bounces off them and back around the room. Sound foam absorbs this sound, enhancing any music, speech, or audio you’re recording in the room.
This is most vital within recording studios where the audio must have as little background noise as possible (ideally absolutely none), and any sort of white noise or echo simply won’t cut it.
How Do You Install Sound Foam?
There are some steps involved in installing sound foam on your walls, but it’s a lot simpler than you might have thought.
Setting Up
The first step to installing acoustic foam is measuring and cutting your panels.
As soon as you’ve decided which walls you’re going to be hanging the foam on, take the measurements of those walls to ensure that you’ll be able to fit in your panels easily.
They don’t need to be covering the whole wall- in a lot of cases having just a few installed will at the very least help to reduce echo. But if you can afford it and you have the space, having as many panels as possible installed is recommended.
Lie the foam panels on the floor and take their measurements to find out how you’re going to need to cut them to make them all fit. Then, cut them down to the appropriate size using either an electric carving knife or something similar.
Now you’re all set to hang the sound foam. There are a few ways you can do this; the following are the most popular, and a lot of the time the most effective, methods.
Spray Adhesive
This method is best for smooth surfaces. If a surface is textured, like wallpaper, it’s less likely to hold the panels.
It’s recommended that you spray your adhesive on a backer material like cardboard, rather than directly on the wall.
First, mark the areas you want to cover using a pencil or masking tape.
Clean your surface with isopropyl alcohol to ensure that the adhesive will hold firm. Wipe this area dry using a dry cloth or a paper towel, and apply the adhesive both to the back of the foam panels and the place you’re going to be putting them.
The adhesive will take around ten seconds to set, and then you can lay the panel against the wall, pressing it firmly for half a minute. Repeat this process until all of your panels are installed.
Adhesive Squares
While using adhesive squares tends to take more time than using an adhesive spray, it’s also far less messy.
To hang your panels with adhesive squares, first mark the areas of your wall you’re going to install them on with masking tape or with a pencil.
Clean the area with isopropyl alcohol and wipe it dry. Next, remove the paper liners on one side of your adhesive squares, leaving the liners on the other side intact.
Stick the exposed side of the adhesive square to the back of the sound panel, and attach more squares to every corner on the back of the panel, as well as on the edges.
Then you can remove the paper liner on the other side of the adhesive squares, and lay the panels on your desired area, applying pressure for 30 seconds. Repeat until all the panels are installed.
Alternatives To Adhesive
Adhesive spray or squares are not the only ways you can hang sound foam. If you have access to impaling clips, you can mark the desired area on your wall before screwing the clips roughly four inches from where the panel’s top will be.
Apply construction adhesive on both sides of the clips before pressing the foam panel firmly to the wall until the clips have penetrated them.
You can also use Z-clips. The benefit of using these clips is that you’ll be able to remove your panels or rehang them at any time.
To install sound foam using this method, first mark your wall, and then screw your z-clips (the amount will depend on the size of your panels) onto the wall.
Then, stick the corresponding z-clips (every z-clip has a corresponding clip) onto your panels with construction adhesive.
Then stick the panel to the wall, and they’ll be securely installed.
Are There Other Ways To Reduce Background Noise?
If you’re recording audio in a room without sound foam (and even if you do have sound foam), you should always take around ten seconds of room tone while you’re recording.
All this involves is staying silent for this time, and letting your microphone(s) record the white noise present in the room, which you probably won’t even be able to hear with your ears.
If you have room tone within your audio, most audio editing software will allow you to highlight that section of the audio and generate a noise profile (in Audacity the tool is ‘Generate noise profile’), before highlighting all of your audio and applying noise reduction.
Be sure to preview how multiple sections of your audio will sound with noise reduction before applying it to the entire track.
If there’s a lot of white noise in your audio, it can take a bit of trial and error to strike the balance between clear with a hint of white noise, and warbled with zero white noise. Still, even the lowest noise reduction setting is better than no noise reduction at all.
If you’ve already recorded the audio and you’ve forgotten to take at least ten seconds of room tone, don’t despair quite yet. You can usually get away with just a few seconds of silence.
Final Thoughts
There are several ways to hang acoustic foam, the most common of which are using a spray adhesive or spray squares.
Adhesive is usually the best way to install sound foam on smooth surfaces without damaging the wall, but if you’re not hanging them on a smooth surface you’ll probably need to use either z-clips or impaling clips.


Member discussion