


Starting a podcast, recording music, or just want a soundproof space in your home that you can work from without disturbing others? Then this is the guide for you!
In this post, I’ll show you how to build a soundproof booth. It’s going to be easy and cheap. You don’t need any special tools or skills. All you need are some basic materials like wood, plywood, screws, nails, tape, glue, etc.
I’m also going to share with you some tips on how to make it look nice too. So let’s get started!
What Is A Soundproof Booth?
A soundproof booth is a room where you can record audio or do other things such as play instruments, compose music, write lyrics, etc. The purpose of building one is so that you can have a quiet place to work while still being able to hear what’s happening around you.
You can use an old closet, a spare bedroom, or even a small office if you really wanted to. But why not go all out and build your own custom soundproof booth instead?
The best part about building your soundproof booth is that you can customize it however you like. You can make it big enough for a band, or small enough for just yourself.
You could put shelves inside if you want to store stuff. Or you could add lights and speakers and transform it into a DJ booth.
The possibilities are endless.
Why Should You Build One?
There are many reasons why you should build a soundproof booth:
- Create Your Own Space
If you’re working from home then chances are you spend most of your time at home. And when you’re at home you probably end up listening to music or watching TV. This means that there will always be noise coming through the walls.
If you want to focus on doing something creative then having a dedicated space where no one else can bother you is essential.
- Get Rid Of Noise From Other Rooms
When you live alone or with someone who doesn’t appreciate silence, it can sometimes be hard to find peace and quiet. Especially if they’re constantly talking on the phone or playing loud music.
It’s much easier to concentrate when you know that nobody’s bothering you.
- Save Money
Soundproof booths aren’t expensive. In fact, you can easily save hundreds of dollars by building one yourself. That money can go towards buying better equipment, hiring musicians, paying for studio time, etc.
- Make It Look Nice
Soundproof booths usually come in boring colors. They tend to be white or gray. If you want yours to stand out then you can paint it whatever color you want. The best thing about building your soundproof booth is that you can customize it however you see fit!
What Should I Use To Soundproof My Booth?
The best thing to use is soundproof foam that you can stick directly onto the walls of your music studio.
This way you won’t have to worry about drilling holes or cutting off pieces of drywall. Plus it’s very affordable.
But if you want to save some money, you can also buy acoustic panels which are made of fiberglass. These are cheaper than foam but they don’t absorb as much sound.
So either way works fine. Just choose whichever option makes sense for you.
Now let’s Start Building Our Soundproof Booth!
How To Make A Soundproof Booth
You Will Need:
- Plywood (or similar material)
- Wood Screws
- Nails
- Tape
- Glue
- Some sort of frame
- Insulation foam and soundproof material
- Optional: Lights, speakers, etc.
Step 1: Find The Right Place For Your Booth
First, decide where you want to build your soundproof booth. Do you want it in a corner of the house? Or maybe on the side of the living room?
Once you figure out where you want to build it, measure the area and draw a rough sketch of what you want it to look like.
Step 2: Frame Your Walls
Now comes the fun part. Start framing the walls of your soundproof booth. Use wood screws and nails to attach plywood sheets until you get the shape you want.
Make sure to leave some gaps between each piece of plywood. This way you can fill them with tape later.
Step 3: Add Doors & Windows
Next, start adding doors and windows. These are optional but I highly recommend them. Just be careful because you don’t want any holes in your wall.
If you have an extra door or window lying around, use it as a template to cut out the hole you need.
Step 4: Fill Gaps With Tapes
Now that all the walls are done, it’s time to fill in the gaps. Using tape, cover every single hole and crack you can find.
This step is important because it helps keep sound from leaking through.
Step 5: Add Your Soundproofing
Adding in your soundproofing material is the most important part of a quality sound booth that does what you need it to do.
The easiest way to add this stuff is using spray foam insulation. You just pour it into the cracks and crevices of your soundproof booth and let it dry.
After it dries, make sure to sand down any excess foam so it looks nice.
You can then add some good-quality audio foam to your walls to stop echoing and absorb sound in the room.
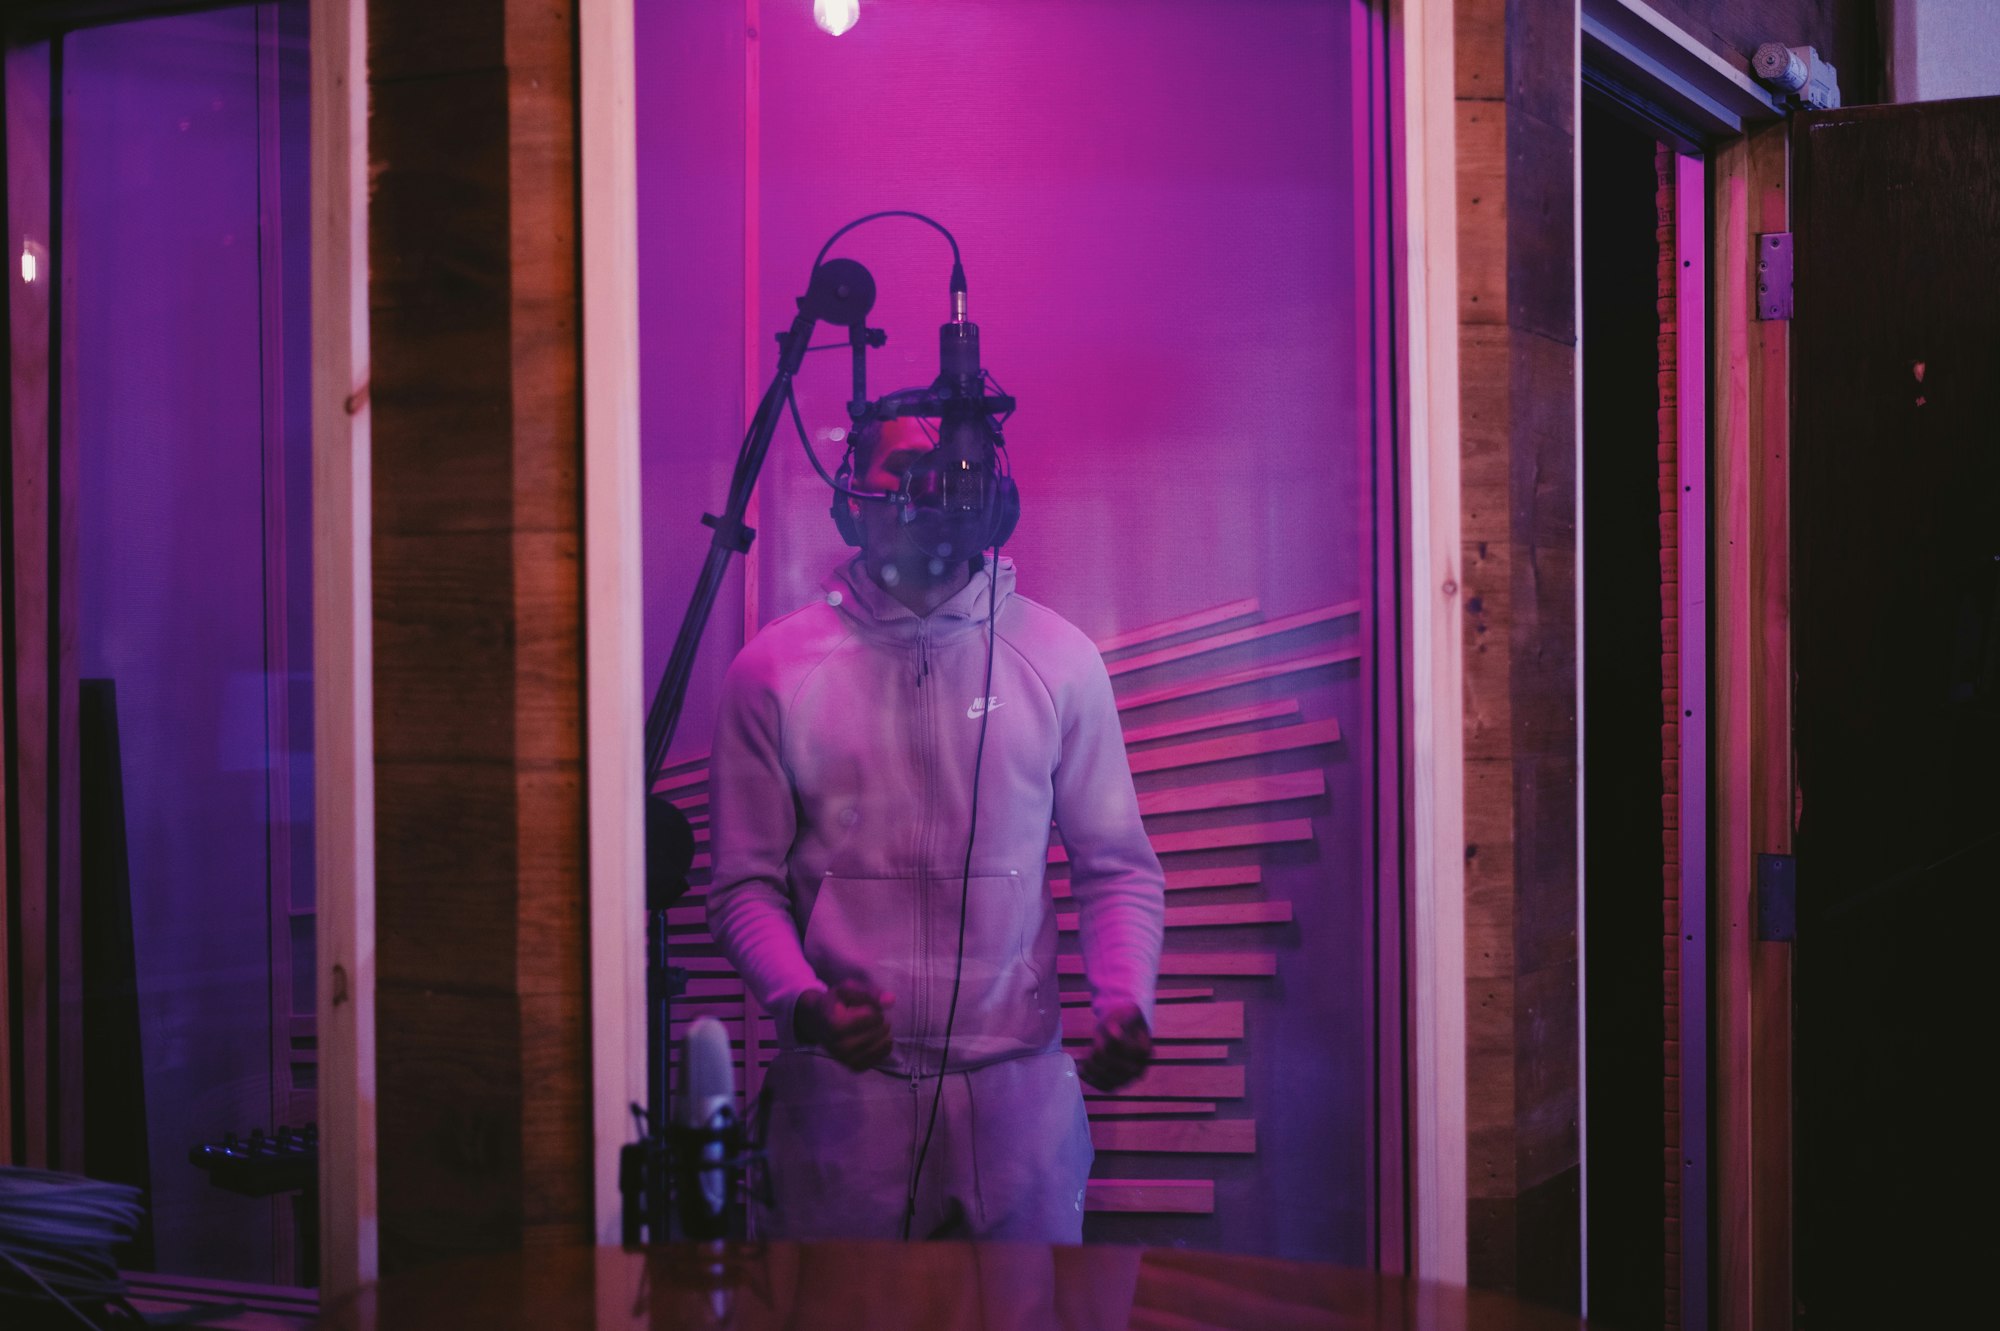
Step 6: Lighting Up
Add lights to your soundproof booth. You can either buy these at home improvement stores or DIY them yourself. Either way, it will look great.
I chose to go with LED lighting because they last longer than traditional bulbs. Plus, they’re more energy-efficient.
Step 7: Add Holes For Cables
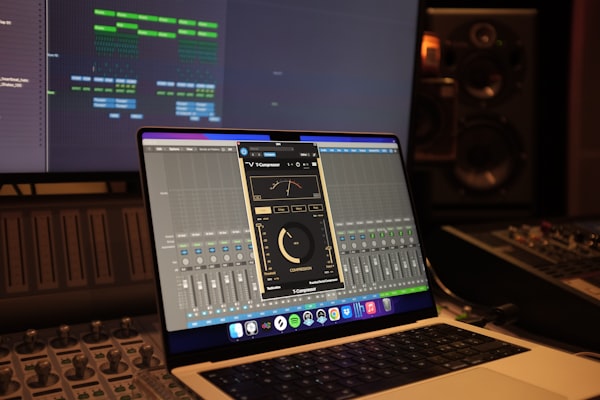
Finally, add holes for your cables. You’re going to need quite a bit of electronic equipment such as microphones, speakers, and recording setups, so you’ll want to incorporate cable management into your structure before you start decorating and finishing up.
Don’t forget to label them so you know which cable goes where.
Step 8: Seal Your Gaps
Lastly, seal your soundproof booth by filling in any remaining gaps with caulk. It’s also a good idea to put a layer of spackle over the entire surface of your soundproof booth to help prevent moisture from getting inside.
That’s it! Now you have a finished soundproof booth.
Decorating
There’s one last bit to do though and it’s the most exciting, decorating! This is your time to set the mood for your sound booth.
You can paint the walls whatever color you want. Many people choose to paint their sound booths a dark color such as navy blue or black. I always think this looks great with the addition of some cool neon or LED lighting.
It pops off when teamed with some metallic furnishing and great accessories.
You’ll want to make your room comfortable as well. If you have the space, it’s a good idea to have additional seating in place.
You could even add a small couch if you wanted.
To finish things off, add some cool decorations like plants or artwork.
Final Thoughts
Remember, your soundproof booth should be able to stand on its own without looking too cheesy or tacky, (unless that’s the look you’re going for, in which case run free!). So play around with different ideas until you come up with something unique that fits your style.
Hope you enjoyed this article and have a better idea of the kinds of things you’ll need to think about when attempting to build your very own soundproof booth.


Member discussion