In this article, I am going to show you how to colour-code your markers in Logic Pro X.

https://youtu.be/e8wPec4JxQ0

Add Markers To Your Project

There are two ways to add markers to your Logic project.

The first is by using the shortcut "Option+'"

⚠️
A marker will be added wherever your playhead is within the timeline

The second is by opening the Global Tracks.

Add Markers To Your Project - open the global tracks view

Then click on the "+" symbol on the "Marker" channel.

Add Markers To Your Project - click on the plus symbol on the marker channel

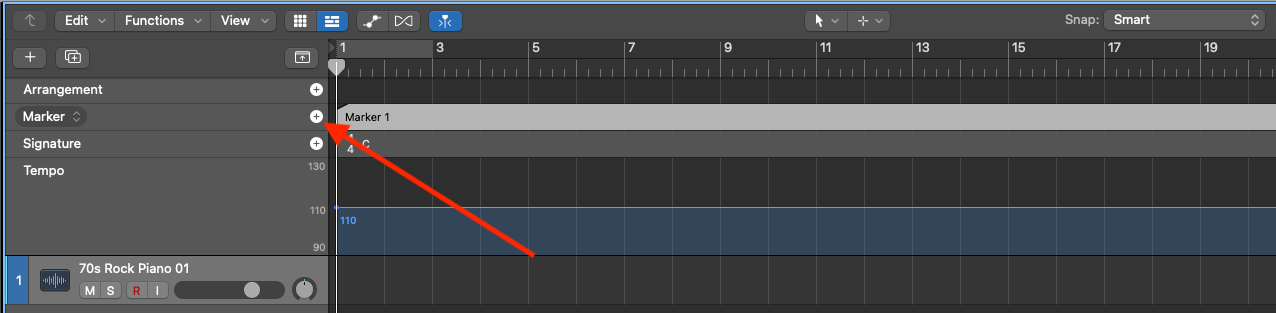
This will then add a marker wherever your playhead is.

How Do I Apply Colour To My Marker Regions

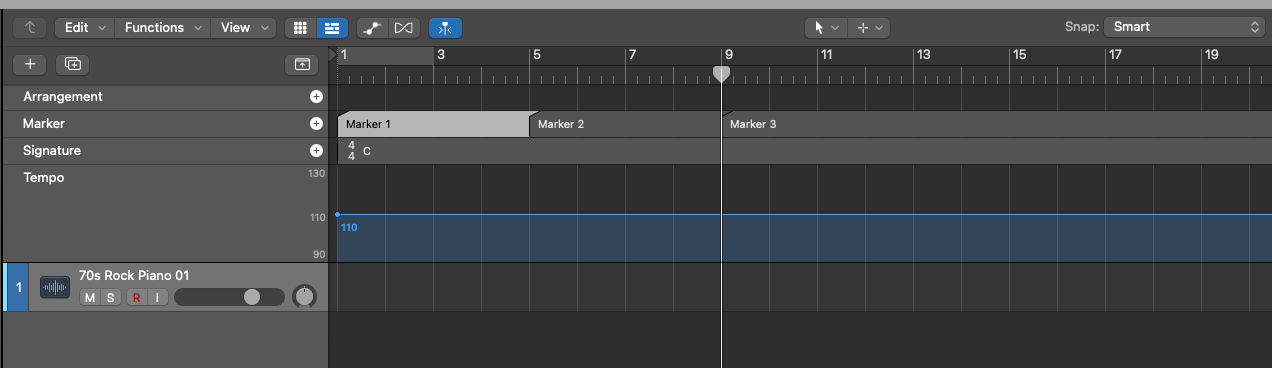
Once you have created your markers you can now go ahead and colour-code them.

In the Global Tracks (shortcut "G"), select the marker region you want to colour.

How Do I Apply Colour To My Marker Regions - select the marker you want to change the colour of

Press "Alt+C" to open up the colour menu.

How Do I Apply Colour To My Marker Regions - press alt and C to open the colour menu

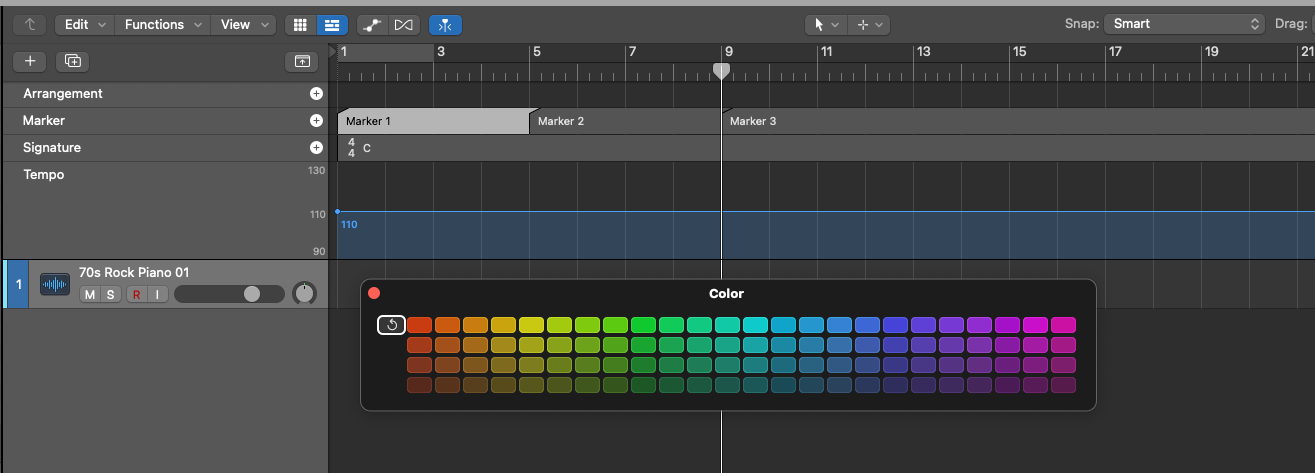
Select the colour you want the region to be.

How Do I Apply Colour To My Marker Regions - choose the colour you want the marker to be

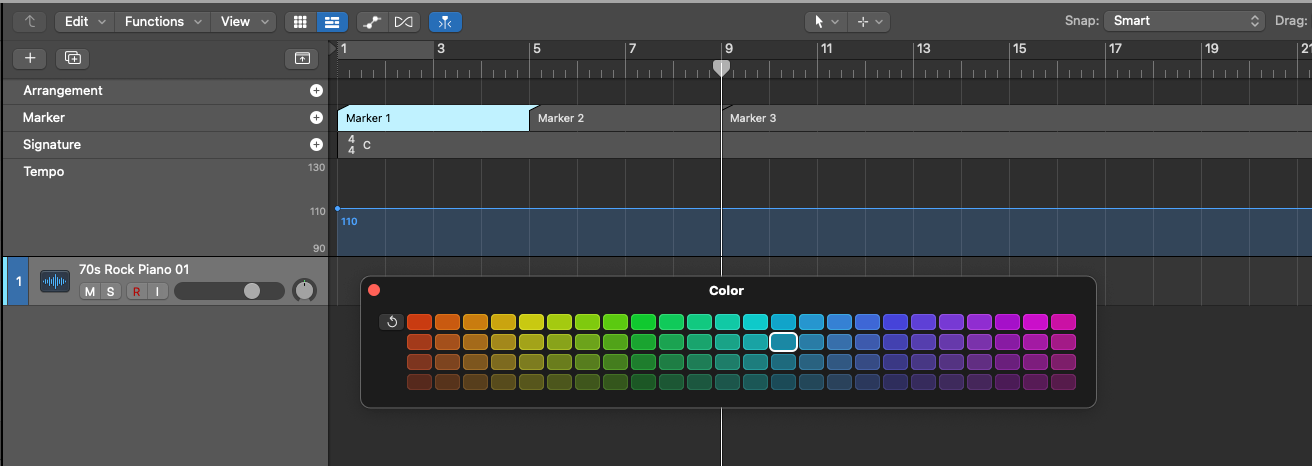
Once you have done that to all your markers, you will see the beautifully colour-coded markers on the top of your project so you can easily navigate through your song structure.

How Do I Apply Colour To My Marker Regions

💁🏻‍♂️ Richard Pryn has been writing music professionally since 2005. Since then, it has been his mission to share his knowledge and experience to help make writing and producing high-quality music easy and approachable. Each year, he continues to help other composers and producers create music that lights them up 🔥
CLICK HERE TO GET MY LOGIC PRO CHEAT SHEET